
 Highlight
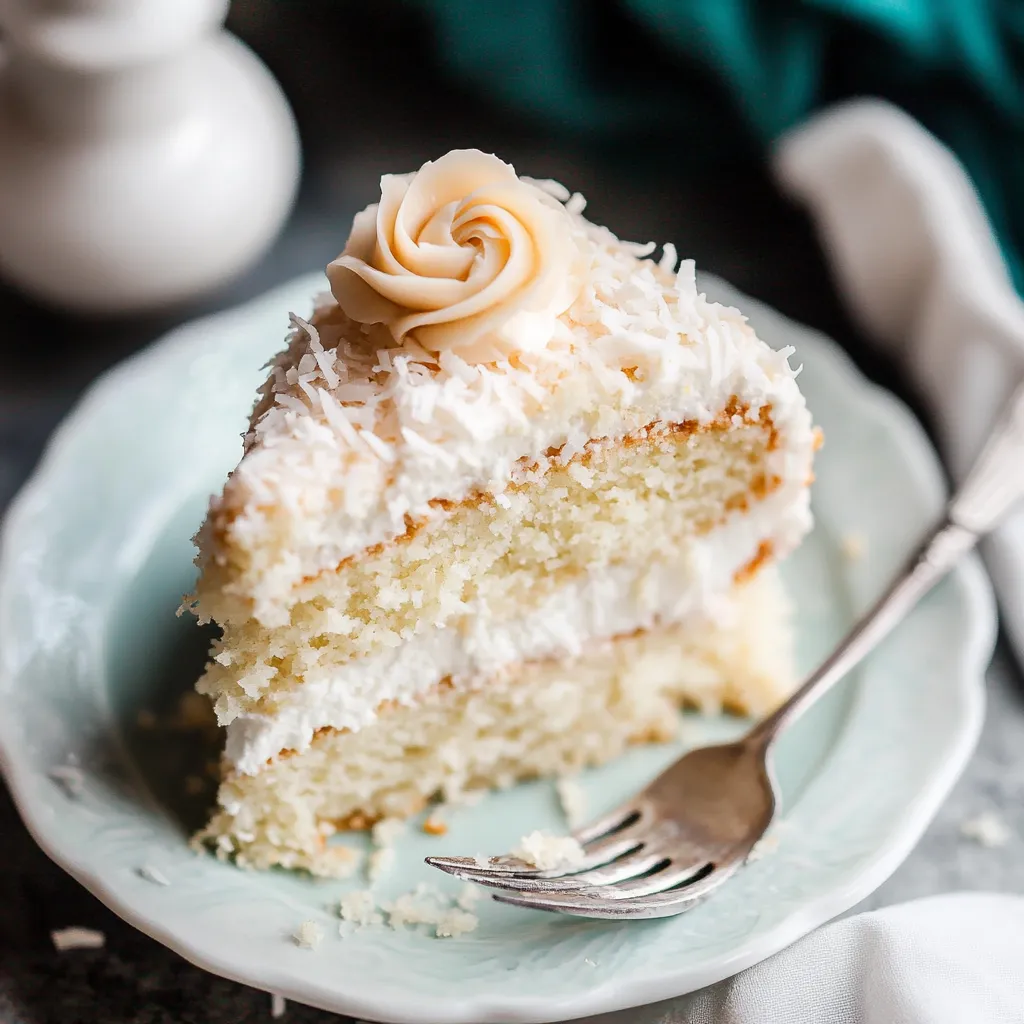
This coconut cake transforms any ordinary occasion into something truly special. After years of testing and tweaking, I've perfected this recipe that delivers incredible moisture, fluffy texture, and authentic coconut flavor in every heavenly bite.
I first made this coconut cake for my grandmother's 80th birthday, as coconut was her favorite. The look on her face when she took that first bite made all the effort worthwhile, and now it's our family's signature celebration cake.
Ingredients
- Cake flour provides a delicate, tender crumb that all-purpose flour simply cannot match
- Egg whites create that beautiful light texture while keeping the cake pure white
- Sour cream adds moisture and subtle tanginess that balances the sweetness
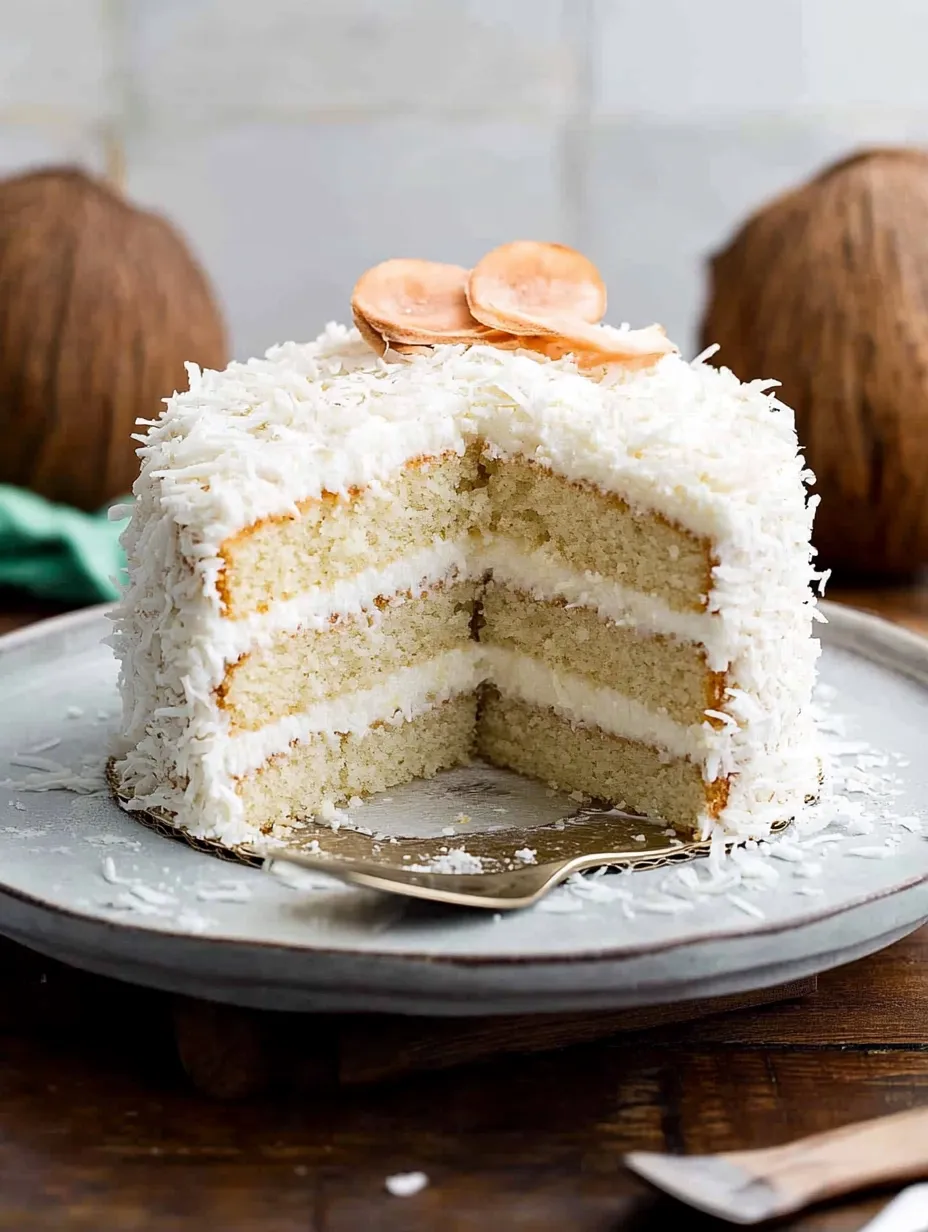
- Canned coconut milk delivers rich, authentic flavor unlike any artificial flavoring
- Shredded sweetened coconut adds texture and amplifies the coconut flavor
- Room temperature ingredients ensure everything blends perfectly for ideal texture
Step-by-Step Instructions
- Prepare the Pans
- Preheat oven to 350°F and prepare three 8-inch cake pans with parchment rounds. This preparation step is crucial for perfect release later, so take your time greasing both the pans and the parchment paper thoroughly.
- Mix Dry Ingredients
- Whisk cake flour, baking powder, baking soda, and salt in a medium bowl until perfectly combined. This advance preparation ensures even distribution of leavening agents throughout your cake.
- Create the Base
- Beat butter and sugar for a full two minutes until the mixture turns noticeably lighter in both color and texture. This incorporates air into the batter, which is essential for creating that soft, fluffy crumb we're after.
- Add Wet Ingredients
- Incorporate egg whites, sour cream, and extracts. The mixture will look curdled at this stage, which is completely normal due to the different temperatures and textures combining. Continue mixing until just incorporated.
- Combine Everything
- Slowly add dry ingredients alternating with coconut milk while mixing on low speed. Finish by folding in shredded coconut by hand. The slow, gentle mixing prevents developing too much gluten, which would make your cake tough.
- Bake with Precision
- Divide batter evenly between pans and bake for 21-24 minutes. Test with a toothpick for doneness, then allow to cool in pans for one hour before removing to cooling racks. Complete cooling is essential before frosting to prevent melting.
- Make Coconut Cream Cheese Frosting
- Beat butter and cream cheese until perfectly smooth before gradually incorporating powdered sugar, coconut milk, extracts, and salt. Whip for three minutes to create a light, fluffy texture that spreads beautifully.
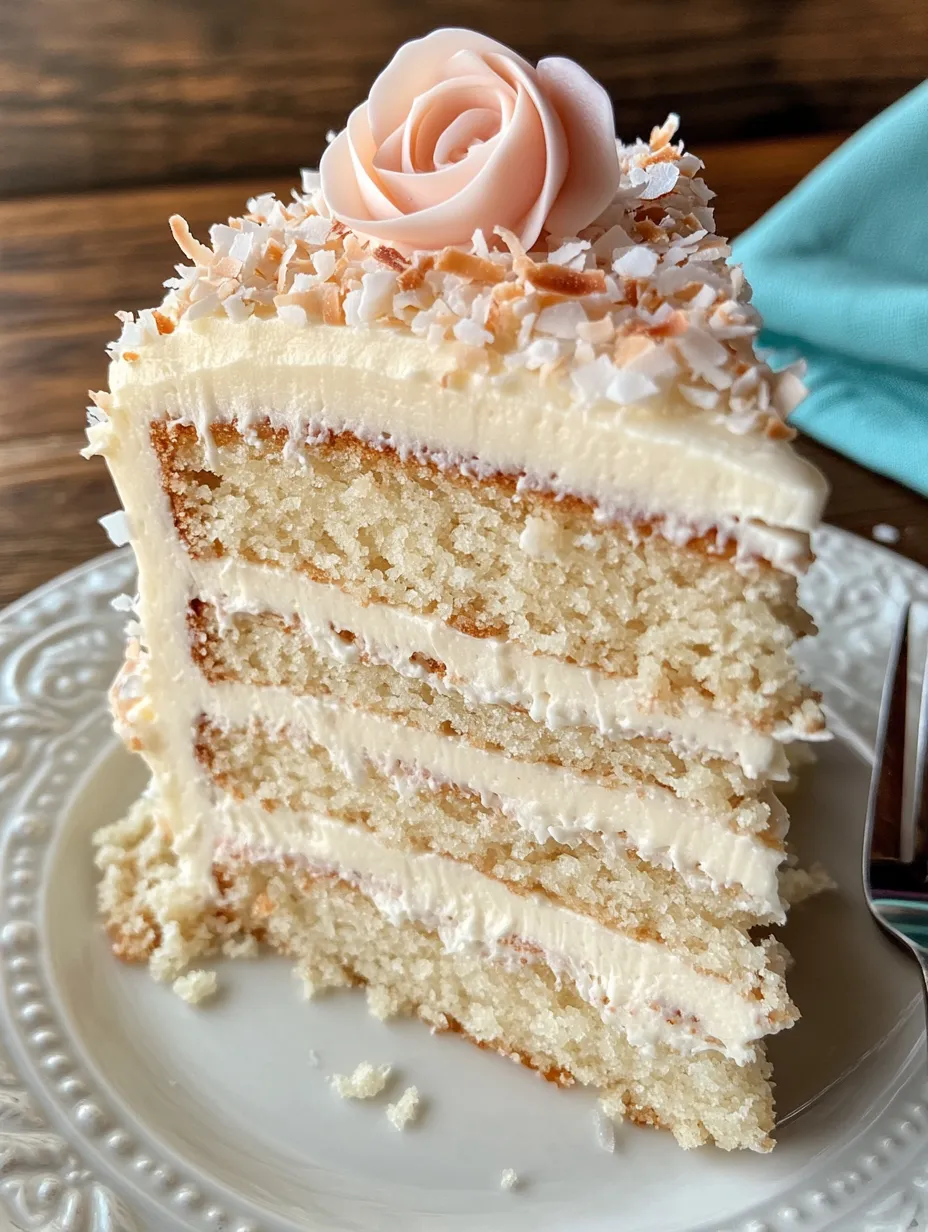
- Assemble and Decorate
- Level cake layers with a serrated knife before assembling with generous frosting between each layer. Cover the entire cake with remaining frosting and press shredded coconut onto the sides and top for a beautiful finishing touch.
My absolute favorite part of this recipe is the real canned coconut milk. After trying countless coconut cake recipes that relied solely on extract, discovering how much depth and richness authentic coconut milk adds was a complete game-changer for my baking.
Storage Secrets
This coconut cake maintains its moisture brilliantly in the refrigerator. Store leftover cake in an airtight container or wrapped tightly with plastic wrap for up to five days. The flavor actually develops and improves after the first day as the coconut infuses throughout each layer.
For longer storage, this cake freezes beautifully. You can freeze individual slices or the entire cake, wrapped tightly in plastic wrap and then aluminum foil. Thaw overnight in the refrigerator and bring to room temperature before serving to experience the perfect texture and flavor.
Make-Ahead Magic
This cake is perfect for busy hosts because nearly every component can be prepared in advance. The cake layers can be baked up to two days ahead and stored at room temperature, well-wrapped. The frosting can be made a day ahead and refrigerated, then brought to room temperature and re-whipped before using.
For special occasions, assemble the entire cake the day before your event. The extra time allows flavors to meld beautifully, and having this impressive dessert complete ahead of time eliminates last-minute stress.
Perfect Pairing Ideas
This coconut cake pairs wonderfully with fresh tropical fruits like mango or pineapple, which complement the coconut flavor perfectly. For an extra special presentation, garnish plates with fresh fruit slices and a light dusting of powdered sugar.
For beverages, serve with hot coffee, tea, or even a coconut rum cocktail for adults. The cake's sweet creaminess balances beautifully with the slight bitterness of coffee or the warmth of a tropical cocktail.
Common Questions About the Recipe
- → Can I use regular flour instead of cake flour?
For best results, cake flour is strongly recommended as it creates a softer, more delicate texture. If you can't find cake flour, you can make a substitute by replacing 2 tablespoons of all-purpose flour with cornstarch for each cup needed. However, this may slightly alter the final texture of the cake.
- → Why do I need to use egg whites instead of whole eggs?
Egg whites are essential for creating the cake's light, fluffy texture. They provide structure without the heaviness that egg yolks would add. For best results, use fresh eggs rather than carton egg whites, and separate them when cold for easier handling.
- → What type of coconut milk should I use?
Use unsweetened canned coconut milk (cooking ingredient), not refrigerated carton coconut milk beverage. Canned coconut milk has a higher fat content and provides better moisture and flavor. You'll find it in the grocery store near Thai food products.
- → Can I make this cake ahead of time?
Yes! The cake layers can be baked, cooled, and stored (covered) at room temperature overnight. The frosting can be prepared and refrigerated overnight. Fully frosted cake can be frozen for up to 3 months - just thaw overnight in the refrigerator before serving.
- → How can I adapt this to different pan sizes?
This recipe works in various formats: For a 9×13-inch sheet cake, bake for 40 minutes. For a 2-layer cake using 9-inch pans, bake for 24-26 minutes. For cupcakes, fill liners 2/3 full and bake for 19-21 minutes (yields 2-3 dozen). For a Bundt cake, use a 10-cup or larger pan and bake until a toothpick comes out clean (approximately one hour).
- → Why do ingredients need to be at room temperature?
Room temperature ingredients combine more easily and evenly, creating a smoother batter and ultimately a more uniform texture in the finished cake. Cold ingredients can cause the batter to separate or result in a denser final product.