
 Highlight
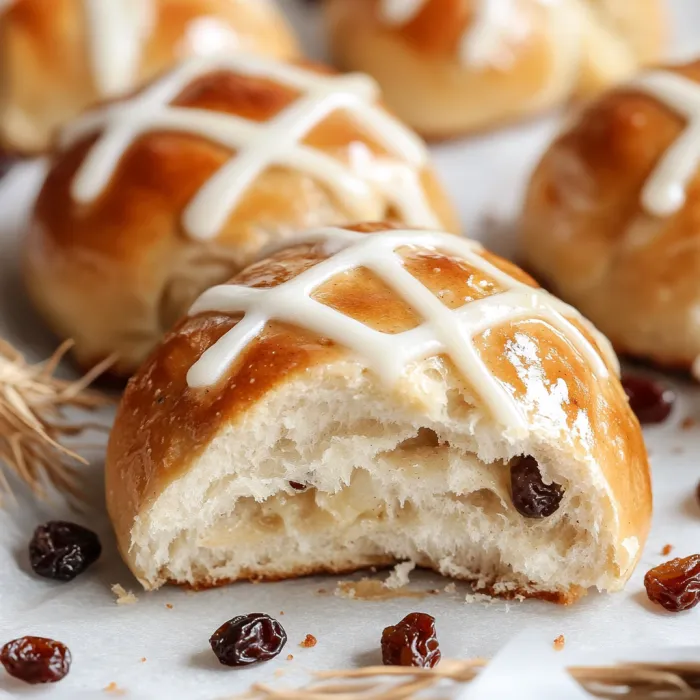
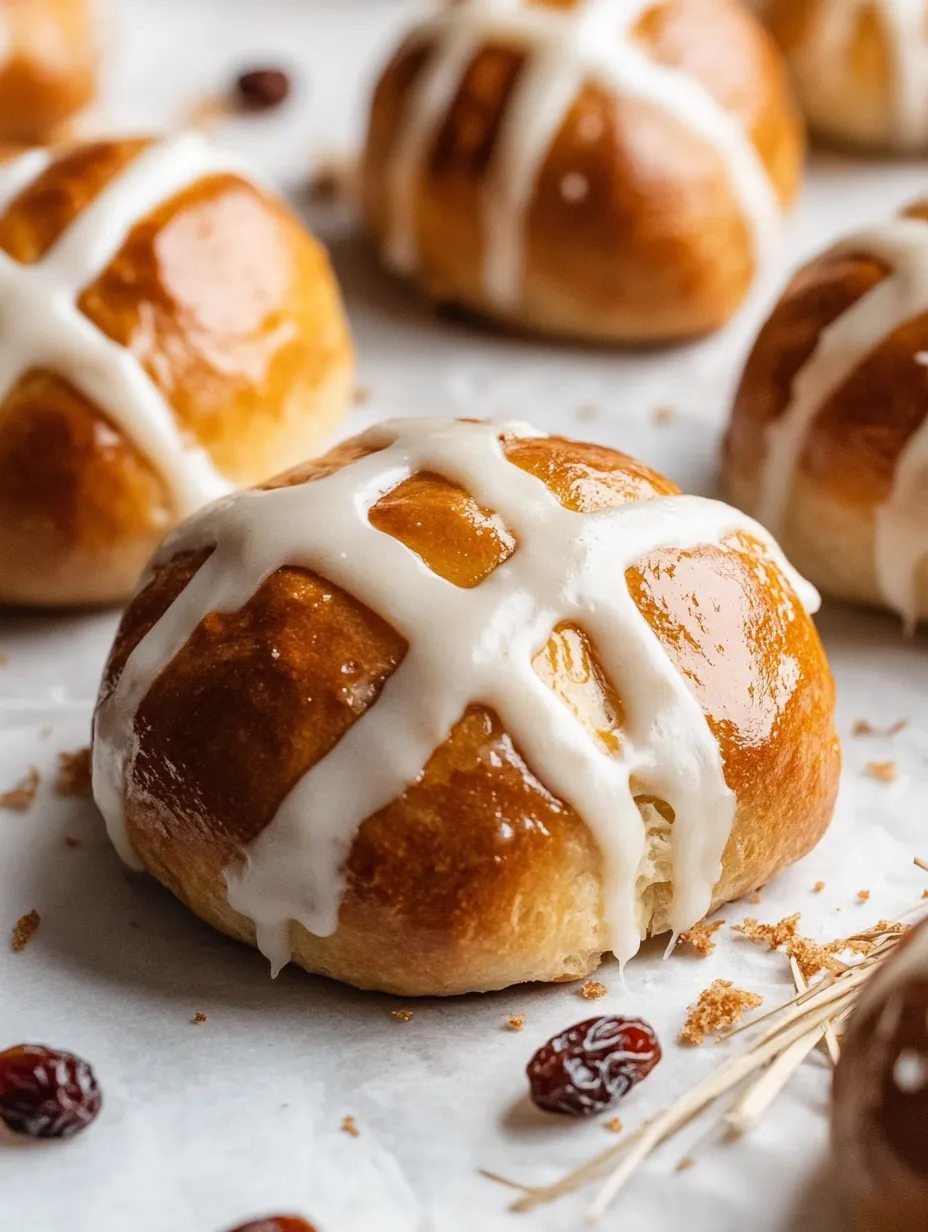
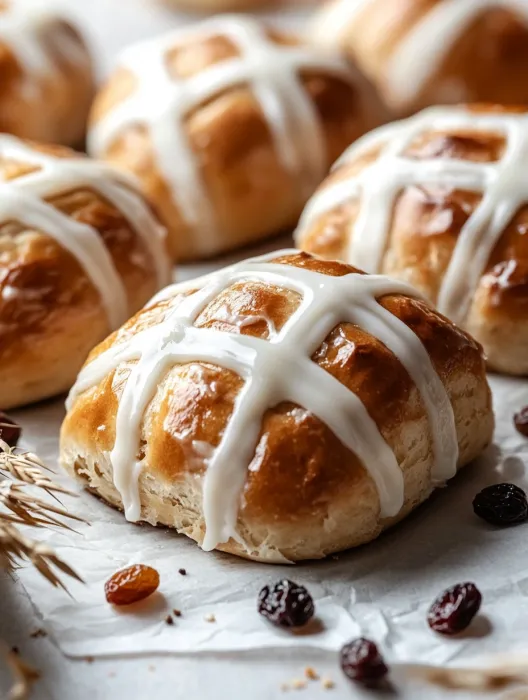
These aromatic hot cross buns blend warm spices with sweet raisins, creating a traditional Easter treat that's worth the effort any time of year. The soft, pillowy texture and signature cross design make these both a feast for the eyes and the taste buds, finished with a bright orange icing that complements the rich dough perfectly.
I first made these buns during Easter lockdown when store shelves were empty, and now my family requests them for weekend breakfasts throughout spring. The house fills with the most incredible spiced aroma while they bake that signals something special is coming.
Ingredients
- Whole milk creates richness in the dough for the perfect tender texture. Accept no substitutes if possible as it makes a noticeable difference.
- Active dry yeast provides the lift and creates that perfect soft structure. Be sure it bubbles when proofing or your buns won't rise properly.
- Brown sugar adds depth and moisture that plain white sugar simply cannot match. The molasses notes complement the spices beautifully.
- Cinnamon nutmeg and allspice create that distinctive hot cross bun flavor profile that makes these irresistible. Use freshly grated nutmeg if possible for maximum fragrance.
- Raisins or currants provide bursts of natural sweetness throughout each bite. Traditional currants give the most authentic flavor if you can find them.
Step-by-Step Instructions
- Activate the Yeast
- Warm milk to exactly 110°F using a thermometer for precision. This temperature is crucial. Too cold and the yeast won't activate. Too hot and you'll kill it. Whisk with sugar and yeast then allow to sit for 5 minutes until foamy and fragrant which confirms your yeast is alive and ready to work.
- Combine the Dough
- Add brown sugar butter eggs vanilla and spices along with the first portion of flour. The partial flour addition allows ingredients to incorporate evenly before adding the remainder. Mix until just combined then add remaining flour and raisins until the dough pulls away from the sides. The dough should feel tacky but not sticky enough to coat your fingers completely.
- Knead to Develop Structure
- Knead for exactly 5 full minutes either in the mixer or by hand until the dough becomes smooth and elastic. This develops the gluten network that creates the perfect chewy yet tender texture. When properly kneaded the dough should slowly bounce back when poked with your finger like a gentle spring.
- First Rise
- Place dough in a greased bowl turning to coat and cover with a clean kitchen towel. Allow to rise in a draft-free spot until doubled in size about 2 hours. The patience here rewards you with flavor development as the yeast works its magic creating those complex bready notes.
- Shape the Buns
- Punch down dough to release air bubbles then divide into equal portions. Cup each piece in your palm while rotating and tucking edges underneath to create tight smooth balls. This tension on the surface creates that classic rounded top that browns beautifully.
- Second Rise and Crossing
- Allow shaped buns to rise again until puffy then pipe flour paste crosses across each row. These crosses hold significant meaning symbolizing the crucifixion in Christian tradition while also serving the practical purpose of helping the buns expand evenly during baking.
- Bake to Golden Perfection
- Bake until deeply golden with a hollow sound when tapped on the bottom. The crust should have just enough resistance while the interior remains soft and fragrant with spices. Rotating the pan halfway ensures even browning on all sides.
- Glaze While Warm
- Brush orange icing onto buns while still warm allowing it to partially absorb into the crust. The slight warmth melts the icing just enough to create a glossy finish while the citrus cuts through the richness beautifully.
The first time I made these buns my daughter insisted on helping with the crosses. Her slightly crooked designs became our family tradition, and now I intentionally make one row a bit wobbly in her honor even when baking alone. Those imperfections carry the sweetest memories.
Make Ahead Options
These buns work wonderfully as an overnight recipe. Shape the buns the evening before, cover tightly, and refrigerate. The slow, cold rise develops even more flavor while allowing you to bake fresh buns in the morning without the full preparation time. Simply allow them to sit at room temperature for an hour before baking.
Perfect Pairings
Hot cross buns shine brightest when served slightly warm with good quality salted butter. The contrast between the sweet spiced bun and rich, creamy butter creates a perfect harmony. For an indulgent weekend brunch, serve alongside poached eggs and fresh fruit for a memorable meal that balances sweet and savory elements beautifully.
Historical Significance
Dating back to the 12th century, hot cross buns were originally marked with a cross to ward off evil spirits. Later adopted by the Church of England, they became traditionally associated with Good Friday. Queen Elizabeth I even issued a decree limiting their sale to funeral, Christmas, and Good Friday celebrations, giving them a sense of occasion that persists today. Making them at home connects you to centuries of baking tradition.
Common Questions About the Recipe
- → Why are my hot cross buns dense instead of fluffy?
Dense hot cross buns can result from too much cinnamon (which inhibits yeast), insufficient kneading, or not allowing adequate rise time. Ensure your yeast is active, knead until the dough passes the windowpane test, and allow full rise times in a warm environment. The recipe intentionally includes more cinnamon for traditional flavor, but you can reduce it to 1/2 teaspoon for fluffier buns.
- → Can I make hot cross buns ahead of time?
Yes! You can prepare the shaped buns and refrigerate them overnight (up to 15 hours), then let them rise for 1-2 hours before baking. Alternatively, you can freeze the shaped dough for up to 3 months - just thaw and rise for 4-5 hours before baking. Baked buns can also be frozen without icing for up to 3 months.
- → What can I substitute for raisins in hot cross buns?
Instead of raisins, you can use dried cranberries, currants, chopped dried apricots, or candied citrus peel. You can also add chopped pecans or walnuts. Keep the total add-ins to about 1 3/4 cups. For extra flavor, consider adding lemon or orange zest to the dough.
- → Why do we put crosses on hot cross buns?
The cross on hot cross buns is traditionally a religious symbol representing the crucifixion of Jesus, as these buns are historically eaten during Easter and Good Friday. The cross can be made either from a flour paste applied before baking (as in this recipe) or from icing piped after baking.
- → How do I know when my dough is properly kneaded?
Properly kneaded dough should be soft and slightly tacky, but not sticky. It should pass the 'windowpane test': take a small piece of dough and gently stretch it - if it forms a thin, translucent membrane without tearing and light passes through it, it's been kneaded enough. Also, when you poke the dough, it should slowly spring back.
- → How long do hot cross buns stay fresh?
Hot cross buns are best enjoyed fresh on the day they're baked. Store leftover buns in an airtight container at room temperature for 1-2 days, or in the refrigerator for up to 1 week. To refresh them, warm briefly in the microwave or oven. For longer storage, freeze unfrosted buns for up to 3 months.