
 Highlight
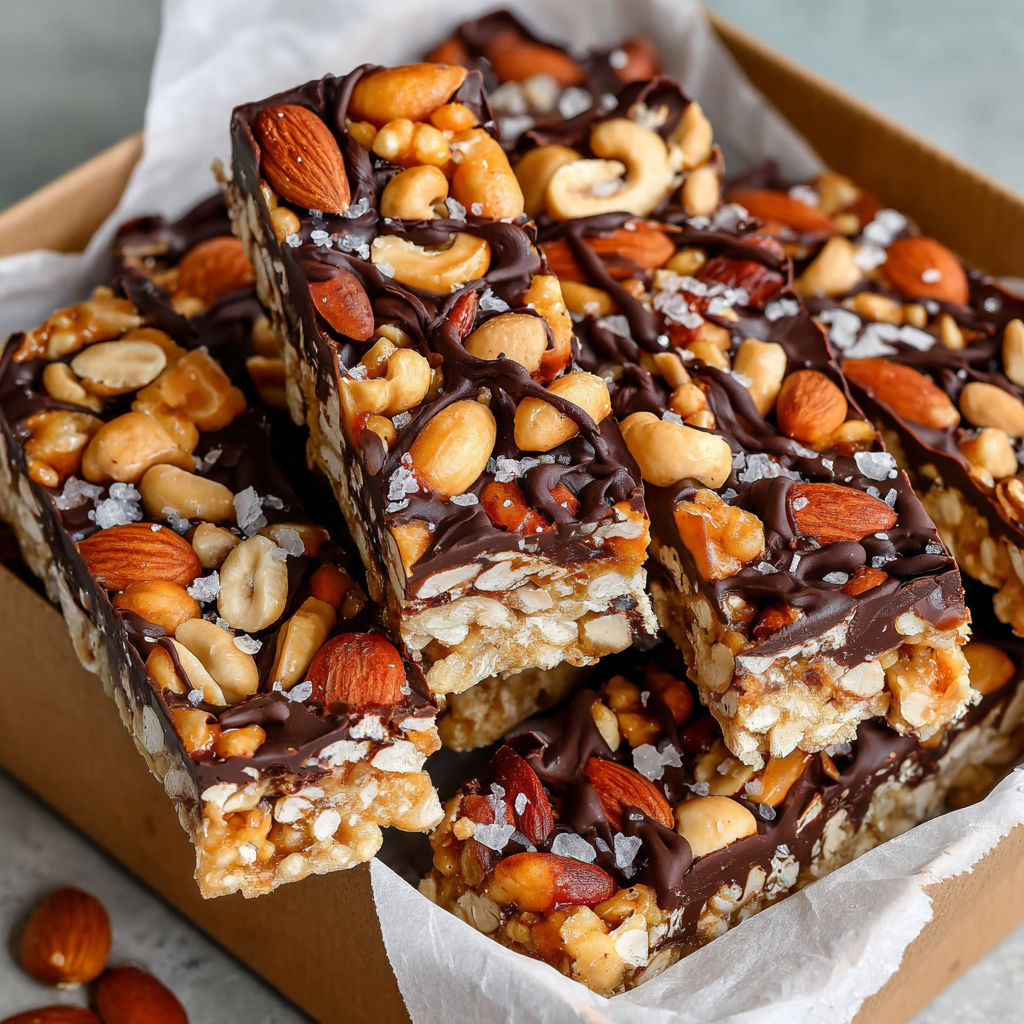
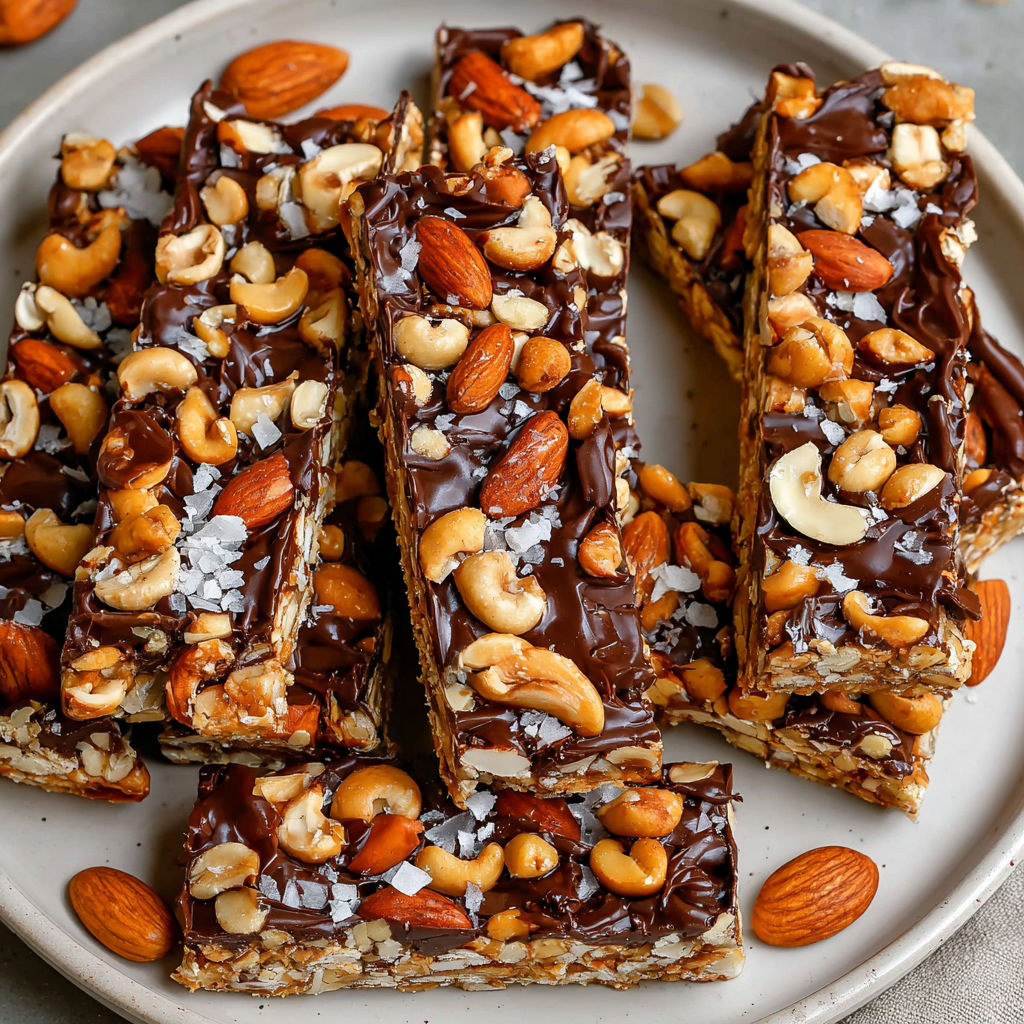
These Dark Chocolate and Sea Salt Nut Bars offer a wonderful combination of crunchy texture, rich chocolate, and a hint of saltiness that makes them addictive. Perfect for a gluten-free snack, they use simple ingredients and deliver a satisfying treat that beats store-bought bars any day.
These bars have been a favorite in my kitchen ever since I first made them for a weekend gathering. Now I keep the ingredients on hand because they disappear fast with family and friends.
Gather Your Ingredients
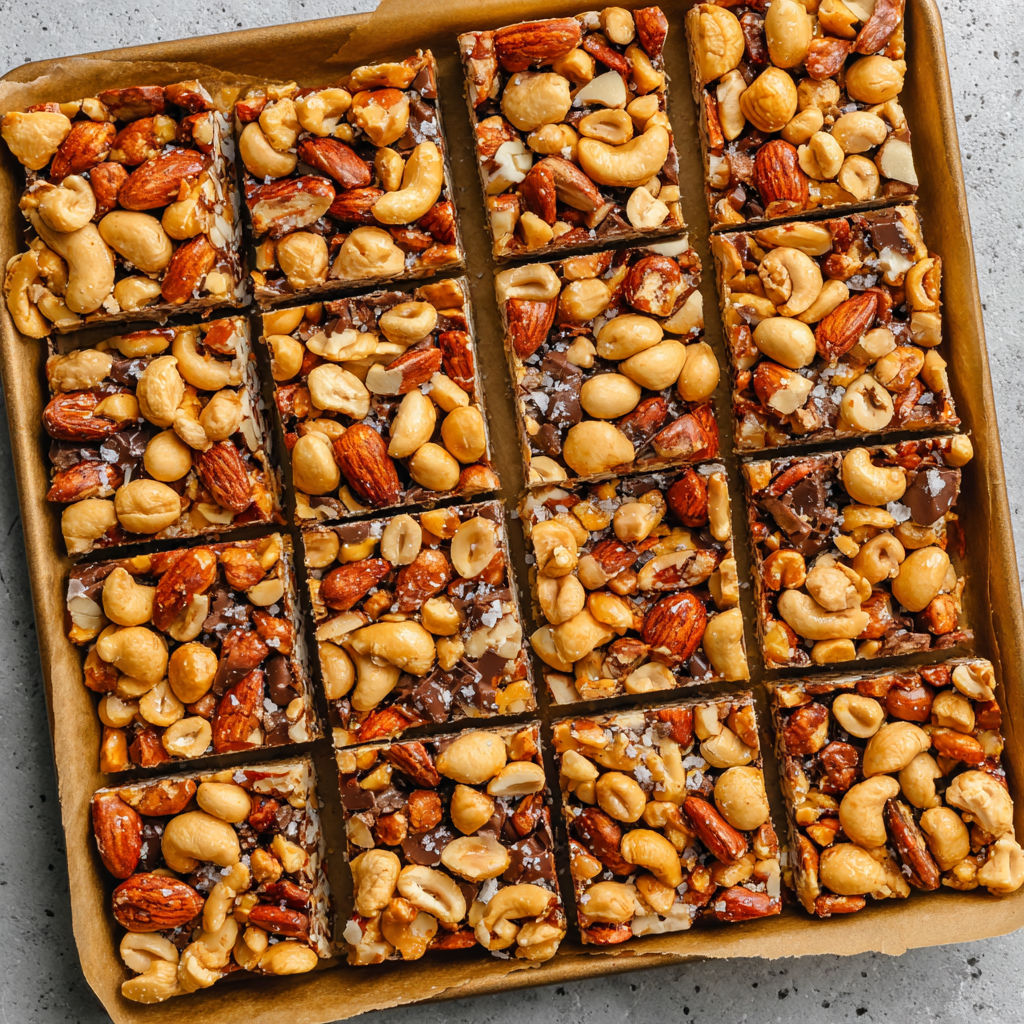
- Two and a half cups unsalted nuts of choice: such as cashews, peanuts, and almonds — to provide crunch and healthy fats, toast them lightly for extra flavor
- Half a cup puffed rice: adds a light crispy texture, choose a quality brand without additives
- Quarter cup brown rice syrup: natural sweetener that binds the bars together, if unavailable, honey works as a substitute though it can make bars a bit stickier
- One and a half teaspoons vanilla extract: enhances the flavor with warm notes, opt for pure vanilla when possible
- Half a teaspoon sea salt: balances sweetness and enhances nuts, flaky sea salt can be used on top for visual appeal
- One cup dark chocolate chips: use at least 70 percent cocoa for richness and less sugar
- Two teaspoons coconut oil: helps melt the chocolate smoothly and assists it in setting nicely
How to Make It
- Preheat oven:
- Preheat your oven to 325 degrees Fahrenheit or 160 degrees Celsius.
- Toast nuts:
- Prepare the nuts by spreading them evenly on a rimmed baking sheet. Bake them for five to eight minutes until you smell their aroma and see a light golden color. This step brings out their roasted flavor and crunch.
- Line pan:
- While the nuts cool slightly, line an eight-by-eight-inch pan with parchment paper. This keeps the bars from sticking and makes removal easier. You can lightly spray the parchment with cooking oil if desired.
- Mix nuts and puffed rice:
- In a large bowl, mix the toasted nuts and puffed rice together thoroughly to combine textures evenly.
- Heat syrup mixture:
- Place the brown rice syrup in a microwave-safe bowl and heat for thirty seconds. This warms and loosens it, making it easier to stir in the vanilla extract and sea salt until smooth. Pour this syrup mixture over the nuts and puffed rice. Stir gently but thoroughly until every bit is coated.
- Press mixture in pan:
- Transfer this coated nut and puffed rice blend to the prepared pan. Use the back of a spoon or clean hands to press it firmly and evenly in the pan, ensuring the bars will hold together well.
- Bake bars:
- Bake the mixture for eighteen to twenty minutes. Once done, remove from the oven and allow it to cool for about thirty minutes to set properly.
- Cut bars:
- Once cooled, transfer the slab to a cutting board. Cut it carefully lengthwise in half, then cut each half into five to six strips to form thin bars. Let them cool completely for best texture and handling.
- Melt chocolate:
- Melt the dark chocolate chips and coconut oil in a microwave-safe bowl by heating in thirty-second increments. Stir after each interval until the chocolate is glossy and smooth with no lumps.
- Dip bars and decorate:
- Dip the bottom edge of each bar carefully into the melted chocolate. Place the dipped bars on a parchment-lined baking sheet. Drizzle the tops with more chocolate and sprinkle with flaky salt for a lovely finish.
- Refrigerate:
- Refrigerate the bars until the chocolate sets firmly before enjoying this delightful treat.
One of my favorite ingredients here is the brown rice syrup. It lends a subtle caramel note that makes these bars feel indulgent without being overly sweet. I remember making a batch on a lazy Sunday afternoon and sharing them with friends at a picnic. Everyone loved the texture and unexpected balance of salty and sweet.
Flavor Boosters
Add some pumpkin spice or cinnamon to the nut mixture during the syrup stage in fall for a cozy seasonal twist. In summer, chill the bars longer and sprinkle with shredded coconut to enhance the tropical vibe. In cooler months, incorporate chopped dried fruit like cranberries or cherries along with nuts for a festive feel.
Serving Suggestions
These bars make a perfect mid-morning snack with coffee or a post-workout treat to replenish energy. Slice them thinner to serve alongside fresh fruit or yogurt for a wholesome dessert plate. They travel well, so pack a few in your bag for hiking trips or busy workdays when you need a quick, nourishing bite.
Creative Twists
Nut and seed bars are beloved in many cultures as convenient, nutrient-dense snacks. This recipe takes inspiration from popular commercial bars like KIND but adds the charm of homemade freshness and customizable ingredients. The use of toasted nuts and real vanilla extract reflects traditional baking techniques creating depth and character.
These bars combine simple wholesome ingredients with rich flavor, perfect for any snack craving. Enjoy making and sharing these delightful treats with your loved ones.
Common Questions About the Recipe
- → What nuts work best for these bars?
A mix of cashews, peanuts, and almonds provides great texture and flavor, but other unsalted nuts can also be used.
- → Can I substitute brown rice syrup?
Yes, honey can be used as an alternative, though it may result in a slightly stickier texture.
- → How should I store the bars?
Store in an airtight container at room temperature for up to a week or freeze for longer preservation, separating layers with parchment paper.
- → What’s the purpose of coconut oil in the chocolate coating?
Coconut oil thins the dark chocolate, helping it melt smoothly and set quickly after dipping the bars.
- → Can these bars be made gluten-free?
Yes, all ingredients used are gluten-free, making the bars suitable for gluten-sensitive diets.