
 Highlight
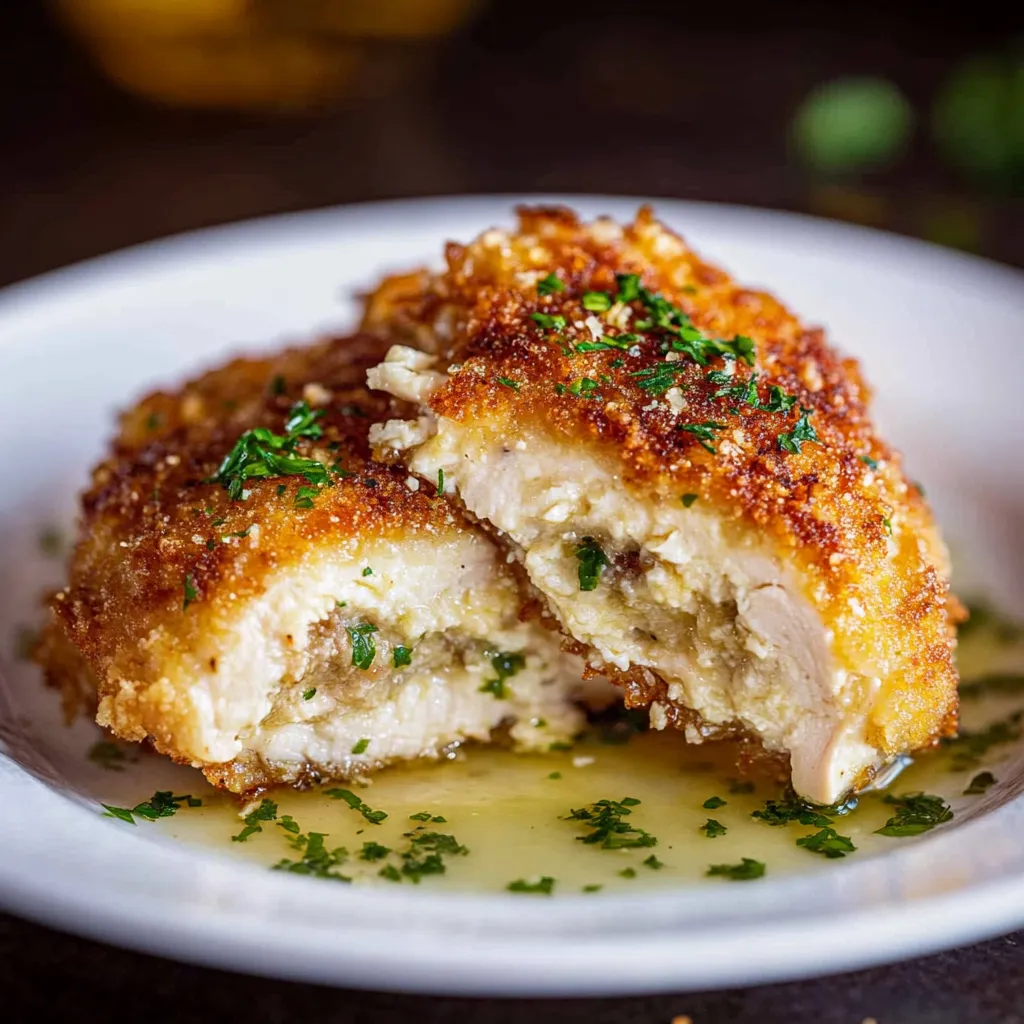
This simplified Chicken Kiev recipe transforms a traditionally complex dish into an approachable weeknight meal. The crispy exterior gives way to juicy chicken filled with a stream of hot lemon-herb garlic butter that elevates the entire experience.
I first made this recipe when trying to recreate my grandmother's famous chicken dinner and now it has become our family's special occasion meal. My children actually cheer when they see me butterflying chicken breasts at the counter.
Ingredients
- Chicken breasts large ones that can be butterflied easily provide the perfect canvas for stuffing
- Unsalted butter the star ingredient that creates the magical flavory center
- Fresh parsley adds brightness and color to the butter mixture
- Lemon juice cuts through the richness with necessary acidity
- Garlic a single clove provides enough punch without overpowering
- Panko breadcrumbs create a superior crispy exterior compared to regular breadcrumbs
- All purpose flour helps the egg wash adhere properly to the chicken
- Eggs act as the glue between the flour and breadcrumb layers
- Olive oil or canola oil best for frying due to their higher smoke points
Step-by-Step Instructions
- Prepare the Flavored Butter
- Combine soft butter with garlic lemon juice parsley salt and pepper. Work with a fork until completely incorporated which takes about 2 minutes. The butter will initially resist incorporating the lemon juice but keep working it until smooth. This mixture can be made a day ahead and refrigerated if needed.
- Butterfly and Stuff the Chicken
- Slice each chicken breast horizontally without cutting all the way through to create a pocket. Cut as deep and wide as possible without breaking through the back or sides. Place 1 tablespoon of prepared butter inside each pocket then gently press the chicken to distribute the butter throughout. Pinch the opening closed and season both sides with salt and pepper. The secret is creating a deep enough pocket while maintaining the chicken's integrity.
- Bread the Chicken
- Set up a breading station with three separate dishes. First dredge each stuffed breast in flour ensuring complete coverage while tapping off excess. Next coat thoroughly in beaten eggs allowing excess to drip away. Finally press firmly into panko breadcrumbs ensuring even coverage on all sides. The key is maintaining a dry hand for flour and breadcrumbs and a wet hand for the egg to prevent creating a paste on your fingers.
- Fry to Golden Perfection
- Heat oil to 350°F in a large skillet. Add chicken carefully without overcrowding the pan. Cook approximately 4 minutes per side until golden brown. The chicken is done when it reaches 165°F internally. Allow to rest briefly before serving which helps keep the butter inside. Monitor the heat carefully as panko browns quickly.
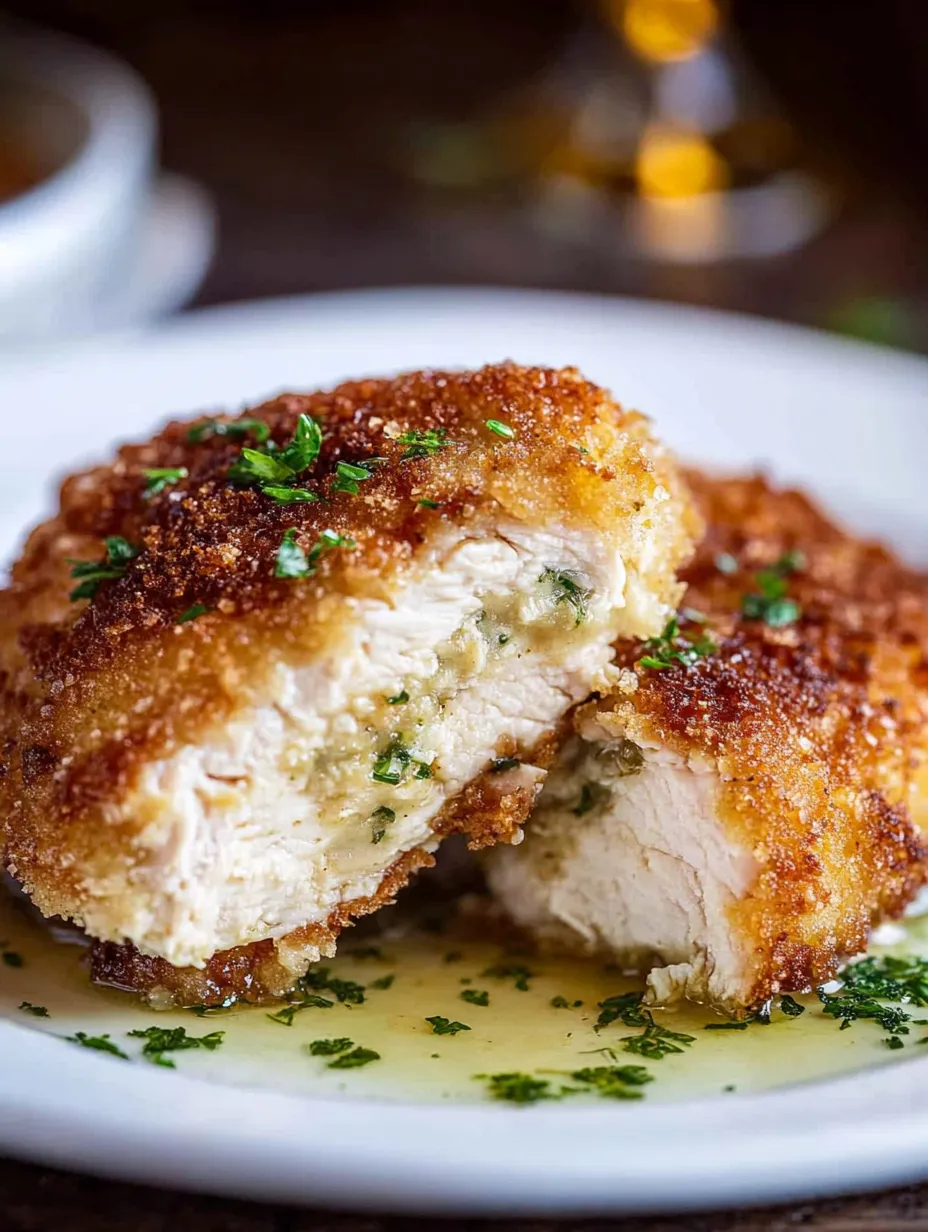
My favorite part of this recipe is watching guests cut into their chicken for the first time. The surprise and delight when the aromatic butter streams out never gets old. My daughter calls it "magic chicken" because of this special effect.
Make Ahead and Storage
This Chicken Kiev is perfect for planning ahead. You can butterfly and stuff the chicken breasts with butter up to 24 hours in advance. Simply keep them wrapped tightly in the refrigerator until ready to bread and fry. You can even bread the chicken several hours before cooking just keep it covered in the refrigerator. This makes it perfect for entertaining when you want to minimize last minute preparation.
The Perfect Golden Crust
The secret to achieving that perfect golden crust lies in maintaining consistent oil temperature. Too hot and the breadcrumbs will burn before the chicken cooks through. Too cool and the coating becomes greasy and soggy. Use a cooking thermometer to keep the oil at 350°F throughout cooking. Another tip is to let the breaded chicken rest for about 10 minutes before frying which helps the coating adhere better during cooking.
Serving Suggestions
Chicken Kiev pairs beautifully with simple sides that complement without competing with its rich flavors. Mashed potatoes make an ideal accompaniment as they can absorb some of that wonderful herb butter. Steamed asparagus or green beans provide a nice color contrast and freshness. For a complete meal consider adding a crisp green salad with a light vinaigrette. Always serve with additional lemon wedges on the side for those who enjoy a bit more acidity.
The History Behind the Dish
Despite its name Chicken Kiev does not definitively originate from Kiev Ukraine. Culinary historians debate its true origins with some tracing it to Russian cuisine of the 18th century while others attribute it to French chefs working in Russia. The dish became internationally known in the mid20th century and was particularly popular in upscale restaurants during the 1970s and 1980s. This homemade version brings that classic culinary experience to your dinner table without the formality or expense of fine dining.

Common Questions About the Recipe
- → What if I accidentally cut through the chicken breast?
If you accidentally cut through the chicken breast while creating the pocket, simply turn the chicken over and cut a small flap to fold over and seal the hole from the outside. This technique ensures the butter stays inside during cooking.
- → Can I prepare chicken kiev ahead of time?
Yes! You can bread the chicken completely, then cover the uncooked chicken breasts and store them in the refrigerator until ready to cook. This makes it perfect for entertaining or busy weeknights when you want to prepare components in advance.
- → How do I know when the chicken kiev is fully cooked?
The chicken kiev is done when it reaches an internal temperature of 165°F on an instant-read thermometer. The exterior should be golden brown after about 4 minutes of frying per side. If it browns too quickly, reduce the heat.
- → Can chicken kiev be frozen?
Yes, chicken kiev freezes well. Cool leftovers completely, wrap each portion individually, and flash-freeze. Then store the frozen chicken breasts in an airtight container for up to 3 months. Thaw in the refrigerator overnight before reheating.
- → What's the best way to reheat leftover chicken kiev?
To maintain the crispy exterior, either sauté leftover chicken kiev in a pan until warmed through or reheat in an Air Fryer. Microwaving is not recommended as it will make the breading soggy.
- → Why is my butter leaking out during cooking?
If butter leaks during cooking, you may not have sealed the pocket well enough. Make sure to pinch the opening closed after stuffing and consider using toothpicks to secure particularly troublesome openings (just remember to remove them before serving).